> ## Documentation Index
> Fetch the complete documentation index at: https://docs.bfl.ml/llms.txt
> Use this file to discover all available pages before exploring further.

# Image-to-Video

> Animate a still image with FLUX 3 — pin a startframe, set a start and end frame, or interpolate through several keyframes.

export const HoldToAnimate = ({image, video, alt = "", aspectRatio = "16 / 9", borderRadius = "0.75rem", label = "Hold to animate"}) => {
  const videoRef = useRef(null);
  const [playing, setPlaying] = useState(false);
  const [muted, setMuted] = useState(true);
  const [showStill, setShowStill] = useState(true);
  const play = () => {
    const v = videoRef.current;
    if (!v) return;
    setShowStill(false);
    const p = v.play?.();
    if (p && typeof p.catch === "function") p.catch(() => {});
    setPlaying(true);
  };
  const pause = (reset = true) => {
    const v = videoRef.current;
    if (!v) return;
    v.pause?.();
    if (reset) {
      try {
        v.currentTime = 0;
      } catch (e) {}
      setShowStill(true);
    }
    setPlaying(false);
  };
  const onPressStart = () => play();
  const onPressEnd = () => pause(true);
  const toggleMute = e => {
    e.stopPropagation();
    const v = videoRef.current;
    const next = !muted;
    setMuted(next);
    if (v) v.muted = next;
  };
  const iconBtn = {
    position: "absolute",
    top: "0.9rem",
    right: "0.9rem",
    zIndex: 3,
    display: "inline-flex",
    alignItems: "center",
    justifyContent: "center",
    width: "2.4rem",
    height: "2.4rem",
    padding: 0,
    borderRadius: "999px",
    border: "none",
    background: "rgba(12, 14, 18, 0.62)",
    backdropFilter: "blur(6px)",
    color: "#fff",
    cursor: "pointer",
    transition: "background 160ms ease"
  };
  return <div className="not-prose">
      <div role="button" tabIndex={0} aria-label={label} onMouseDown={onPressStart} onMouseUp={onPressEnd} onMouseLeave={onPressEnd} onTouchStart={onPressStart} onTouchEnd={e => {
    e.preventDefault();
    onPressEnd();
  }} onTouchCancel={onPressEnd} onKeyDown={e => {
    if (e.key === "Enter" || e.key === " ") {
      e.preventDefault();
      playing ? pause(true) : play();
    }
  }} style={{
    position: "relative",
    display: "block",
    width: "100%",
    aspectRatio,
    borderRadius,
    overflow: "hidden",
    background: "#0c0e12",
    cursor: "pointer",
    userSelect: "none",
    WebkitTapHighlightColor: "transparent"
  }}>
        <video ref={videoRef} src={video} poster={image} muted={muted} loop playsInline preload="metadata" onEnded={() => setPlaying(false)} style={{
    position: "absolute",
    inset: 0,
    width: "100%",
    height: "100%",
    objectFit: "cover",
    display: "block"
  }} />
        {}
        <img src={image} alt={alt} draggable={false} style={{
    position: "absolute",
    inset: 0,
    width: "100%",
    height: "100%",
    objectFit: "cover",
    display: "block",
    opacity: showStill ? 1 : 0,
    transition: "opacity 240ms ease",
    pointerEvents: "none"
  }} />

        {}
        <span style={{
    position: "absolute",
    top: "0.9rem",
    left: "0.9rem",
    zIndex: 3,
    display: "inline-flex",
    alignItems: "center",
    gap: "0.5rem",
    padding: "0.4rem 0.8rem",
    borderRadius: "999px",
    background: "rgba(12, 14, 18, 0.62)",
    backdropFilter: "blur(6px)",
    color: "#fff",
    fontFamily: '"Instrument Sans", sans-serif',
    fontSize: "0.82rem",
    fontWeight: 600,
    letterSpacing: "-0.01em",
    pointerEvents: "none",
    opacity: playing ? 0 : 1,
    transition: "opacity 200ms ease"
  }}>
          <span style={{
    width: "0.5rem",
    height: "0.5rem",
    borderRadius: "999px",
    background: "#ff4438",
    boxShadow: "0 0 0 4px rgba(255, 68, 56, 0.25)"
  }} />
          {label}
        </span>

        {}
        <button type="button" onClick={toggleMute} aria-label={muted ? "Unmute" : "Mute"} style={iconBtn}>
          {muted ? <svg width="18" height="18" viewBox="0 0 24 24" fill="none" stroke="currentColor" strokeWidth="2" strokeLinecap="round" strokeLinejoin="round" aria-hidden="true">
              <polygon points="11 5 6 9 2 9 2 15 6 15 11 19 11 5" />
              <line x1="23" y1="9" x2="17" y2="15" />
              <line x1="17" y1="9" x2="23" y2="15" />
            </svg> : <svg width="18" height="18" viewBox="0 0 24 24" fill="none" stroke="currentColor" strokeWidth="2" strokeLinecap="round" strokeLinejoin="round" aria-hidden="true">
              <polygon points="11 5 6 9 2 9 2 15 6 15 11 19 11 5" />
              <path d="M15.54 8.46a5 5 0 0 1 0 7.07" />
              <path d="M19.07 4.93a10 10 0 0 1 0 14.14" />
            </svg>}
        </button>
      </div>
    </div>;
};

Turning an image into video is not a single action. Depending on how strictly the model should follow your image — and whether it defines the *start*, the *end*, or just the *look* of a shot — FLUX 3 gives you several distinct ways to animate.

The right approach depends on what your image should *become*: the literal opening frame of the shot, one end of a defined motion, or one of several waypoints the shot moves through. Choosing deliberately gives you far more control than sending the same image into every mode and hoping for the best.

## Overview

`i2v` animates from the images you give it — all through one `keyframes` field. What changes is *how many* frames you pin and *where* they sit in the shot:

| Shape                                                             | What your image(s) become                                                                      | Best for                                                   |
| ----------------------------------------------------------------- | ---------------------------------------------------------------------------------------------- | ---------------------------------------------------------- |
| **Startframe** — one image                                        | The exact opening frame; the prompt animates forward                                           | Bringing a single photo or render to life                  |
| **Start + end frame** — two images                                | The first *and* last frame; FLUX 3 fills the motion between                                    | Controlling exactly where a shot begins and where it lands |
| **Keyframes** — three or more images, or `[seconds, image]` pairs | Ordered waypoints the shot passes through in turn, spread evenly or pinned to exact timestamps | Choreographing a shot through multiple beats               |

<Tip>
  Reach for **Startframe** when the result must begin exactly on your image,
  **Start + end frame** when you know both ends of the motion, and **Keyframes**
  when the shot has to hit several specific moments along the way. Timestamped
  and 3+ keyframe requests need an explicit `duration`.
</Tip>

## Startframe

In `i2v`, your image sets the opening frame and the prompt drives the motion. Press and hold any frame below to preview the video FLUX 3 generates from that single still — release to snap back to the source image.

### Examples

<Columns cols={2}>
  <HoldToAnimate image="https://cdn.sanity.io/images/2gpum2i6/production/a121750cb4422945a6d3ff0eed246271750e3c63-1280x704.jpg" video="https://cdn.sanity.io/files/2gpum2i6/production/9b7469e7f349b4f26fe9809b9faa13567504aa84.mp4" alt="Fireworks over a crowd" />

  <HoldToAnimate image="https://cdn.sanity.io/images/2gpum2i6/production/5b9aa4a1d119992abc0003b03453530d44f78819-1280x704.jpg" video="https://cdn.sanity.io/files/2gpum2i6/production/ea4de233fd5523e3e33e03ced3c53897836c8ac3.mp4" alt="Coiled chameleon tail" />

  <HoldToAnimate image="https://cdn.sanity.io/images/2gpum2i6/production/3b3c12063960a977953e9532e9b8762f34cefb3a-1280x704.jpg" video="https://cdn.sanity.io/files/2gpum2i6/production/5190ad663e1f00962ec2cb1d3dcbb2a55249e0cc.mp4" alt="Colorful spiral pattern" />

  <HoldToAnimate image="https://cdn.sanity.io/images/2gpum2i6/production/f5f63a285359bc14b2f92472728d52d4b6880d5f-2688x1792.png" video="https://cdn.sanity.io/files/2gpum2i6/production/7dc7fd79a1d7e37157247b66890d479039ad3e05.mp4" alt="Surrealist office on fire" />
</Columns>

<Tip>
  Notice how the source frame is preserved exactly at the start of each clip —
  that first-frame fidelity is what makes **Startframe** the most literal way to
  animate an image.
</Tip>

## Start + end frame

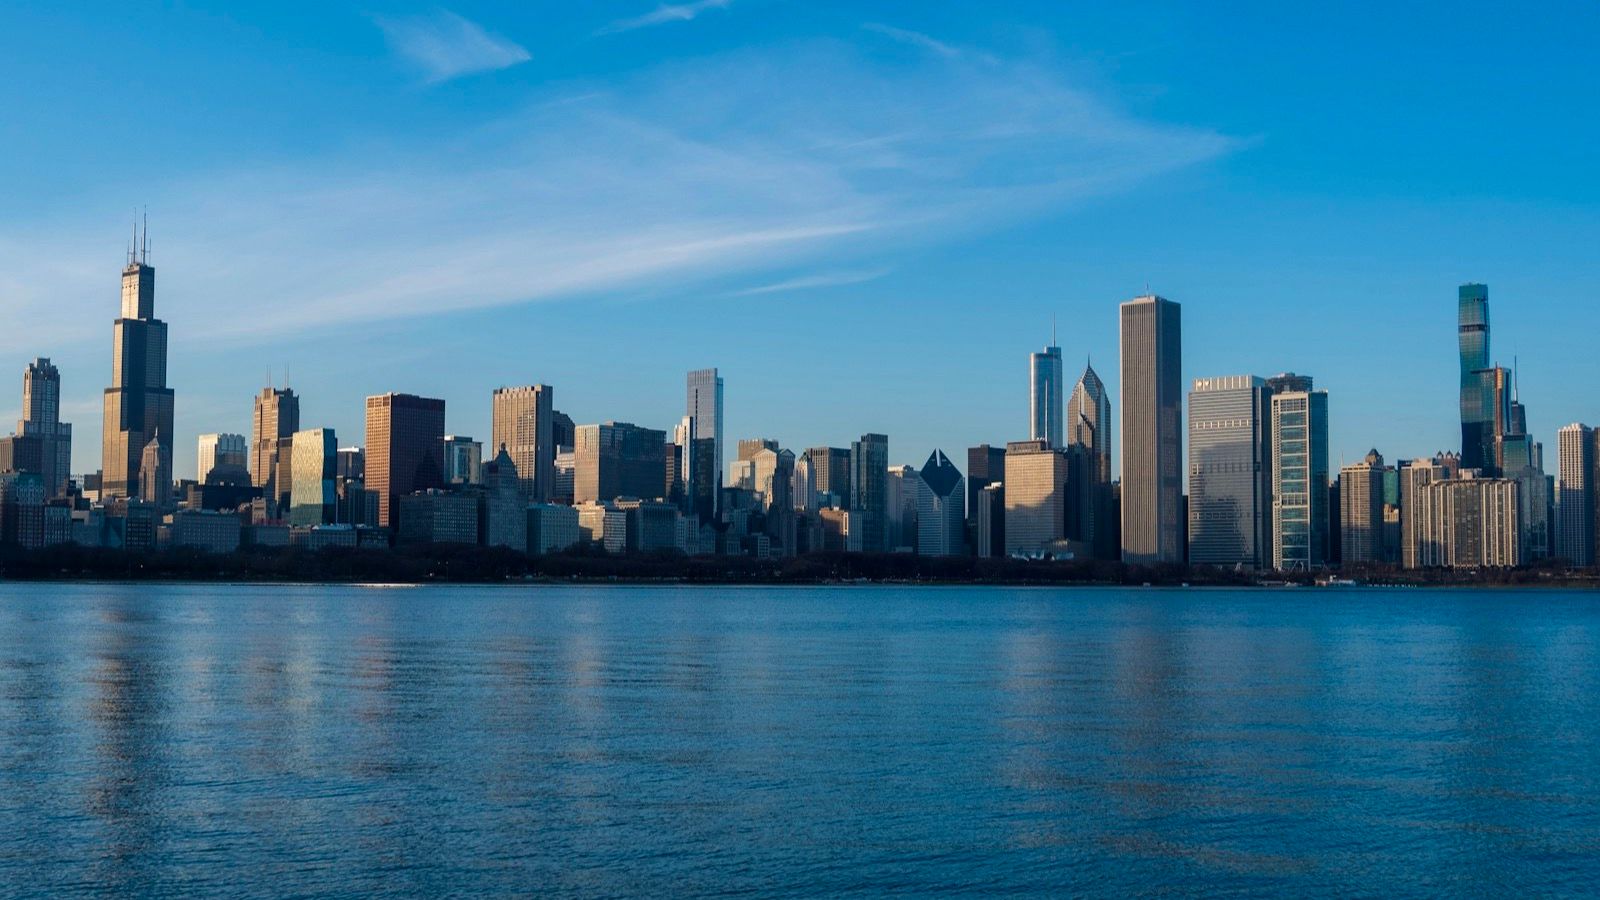
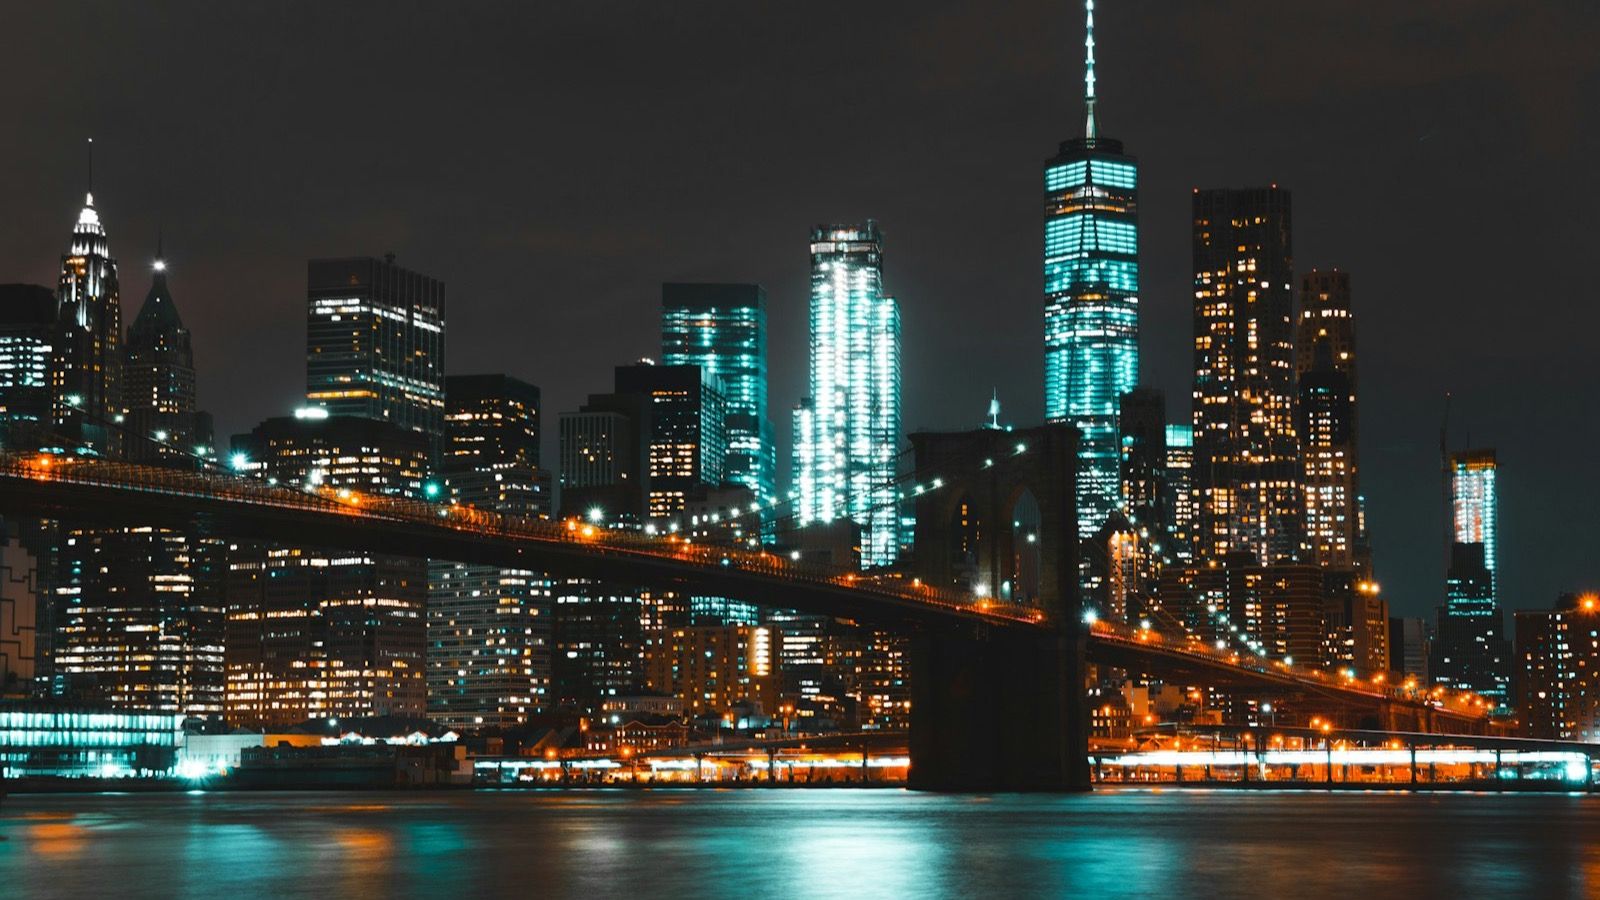
Give FLUX 3 two stills — the frame the shot should *open* on and the frame it should *land* on — and it generates the motion that carries one into the other. Reach for this when both ends of a shot matter: a reveal that has to resolve on a specific composition, a transformation with a defined before and after, or a loop that must return to where it began.

Keep the two frames related — same subject, scene, or camera setup — so the interpolation has a plausible path between them. The wider the gap between start and end, the more freedom (and unpredictability) you hand the model.

### Examples

Each example shows the two input frames — the **start** and the **end** — followed by the clip FLUX 3 generated to bridge them.

<Tabs>
  <Tab title="City: day to night">
    <Columns cols={2}>
      <div>
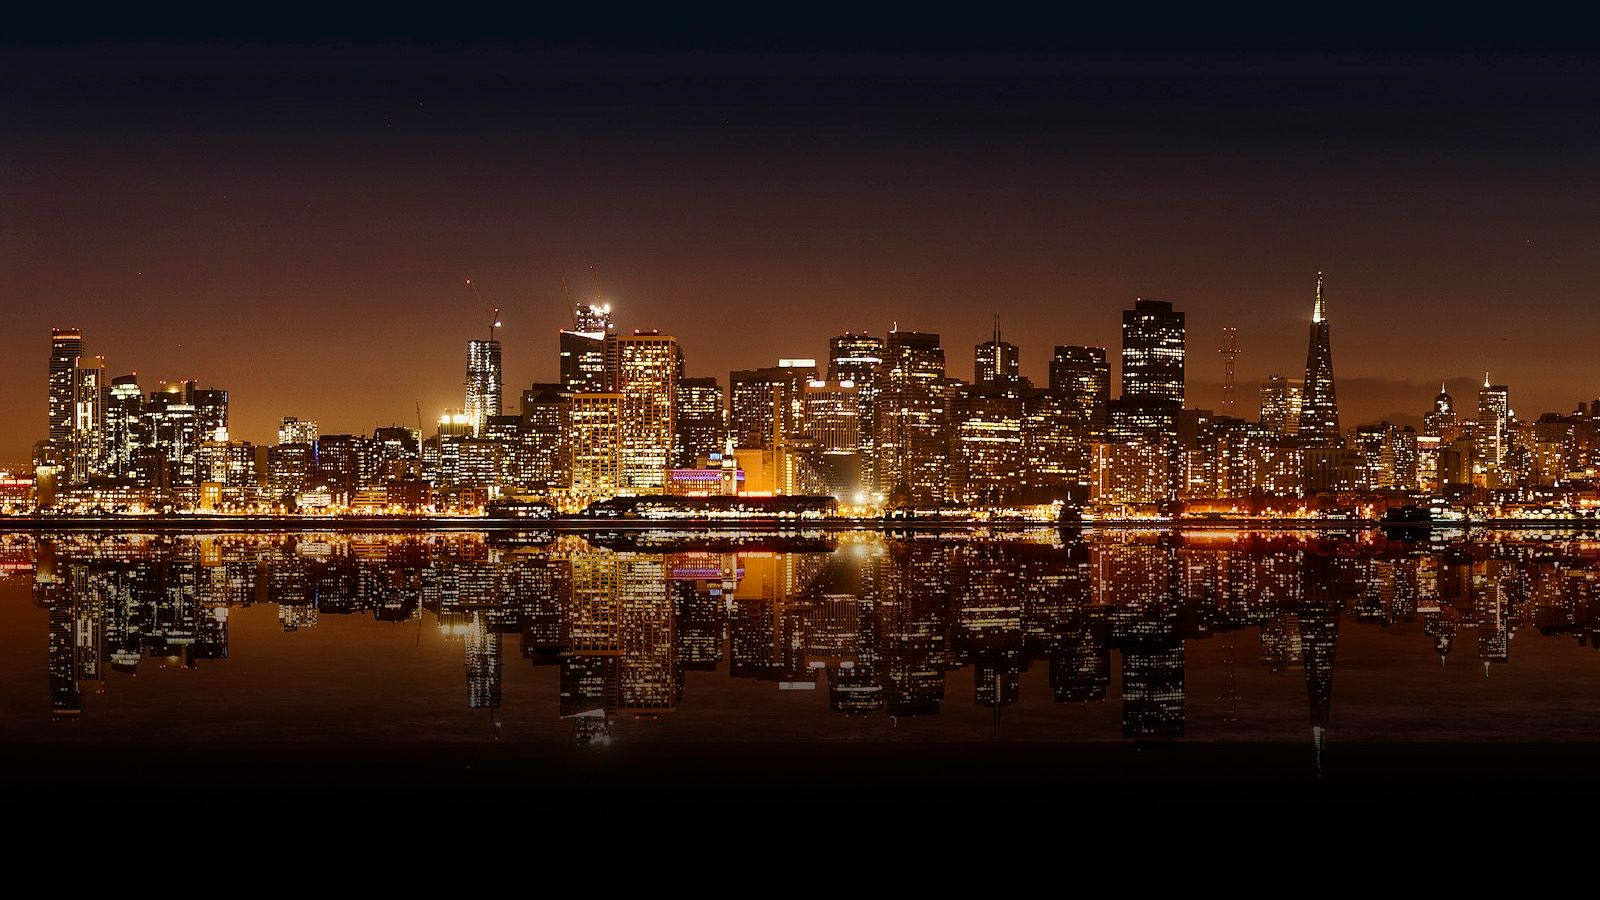
        <img src="https://cdn.sanity.io/images/2gpum2i6/production/53ff1c57c9b6f6f5275f397321b3db96f02ce88b-1600x900.jpg" alt="Start frame — city skyline by day" style={{ width: "100%", display: "block", borderRadius: "0.5rem" }} />

        <p style={{ textAlign: "center", marginTop: "0.4rem", opacity: 0.7 }}>Start frame</p>
      </div>

      <div>
        <img src="https://cdn.sanity.io/images/2gpum2i6/production/0f7169c2f9bdf9ce6e64a44aee85bc16b8da35a1-1600x900.jpg" alt="End frame — city skyline at night" style={{ width: "100%", display: "block", borderRadius: "0.5rem" }} />

        <p style={{ textAlign: "center", marginTop: "0.4rem", opacity: 0.7 }}>End frame</p>
      </div>
    </Columns>

    <video autoPlay loop muted playsInline controls style={{ width: "100%", marginTop: "1rem", borderRadius: "0.5rem" }} src="https://cdn.sanity.io/files/2gpum2i6/production/82e3fbf003ad222508b87d8b15226b8013d9a815.mp4" />

    ```text wrap theme={null}
    A wide waterfront city skyline transitions from bright midday to glittering night: daylight fades through dusk to dark, thousands of lights switching on across the towers and shimmering on the water.
    ```
  </Tab>

  <Tab title="Ink in motion">
    <Columns cols={2}>
      <div>
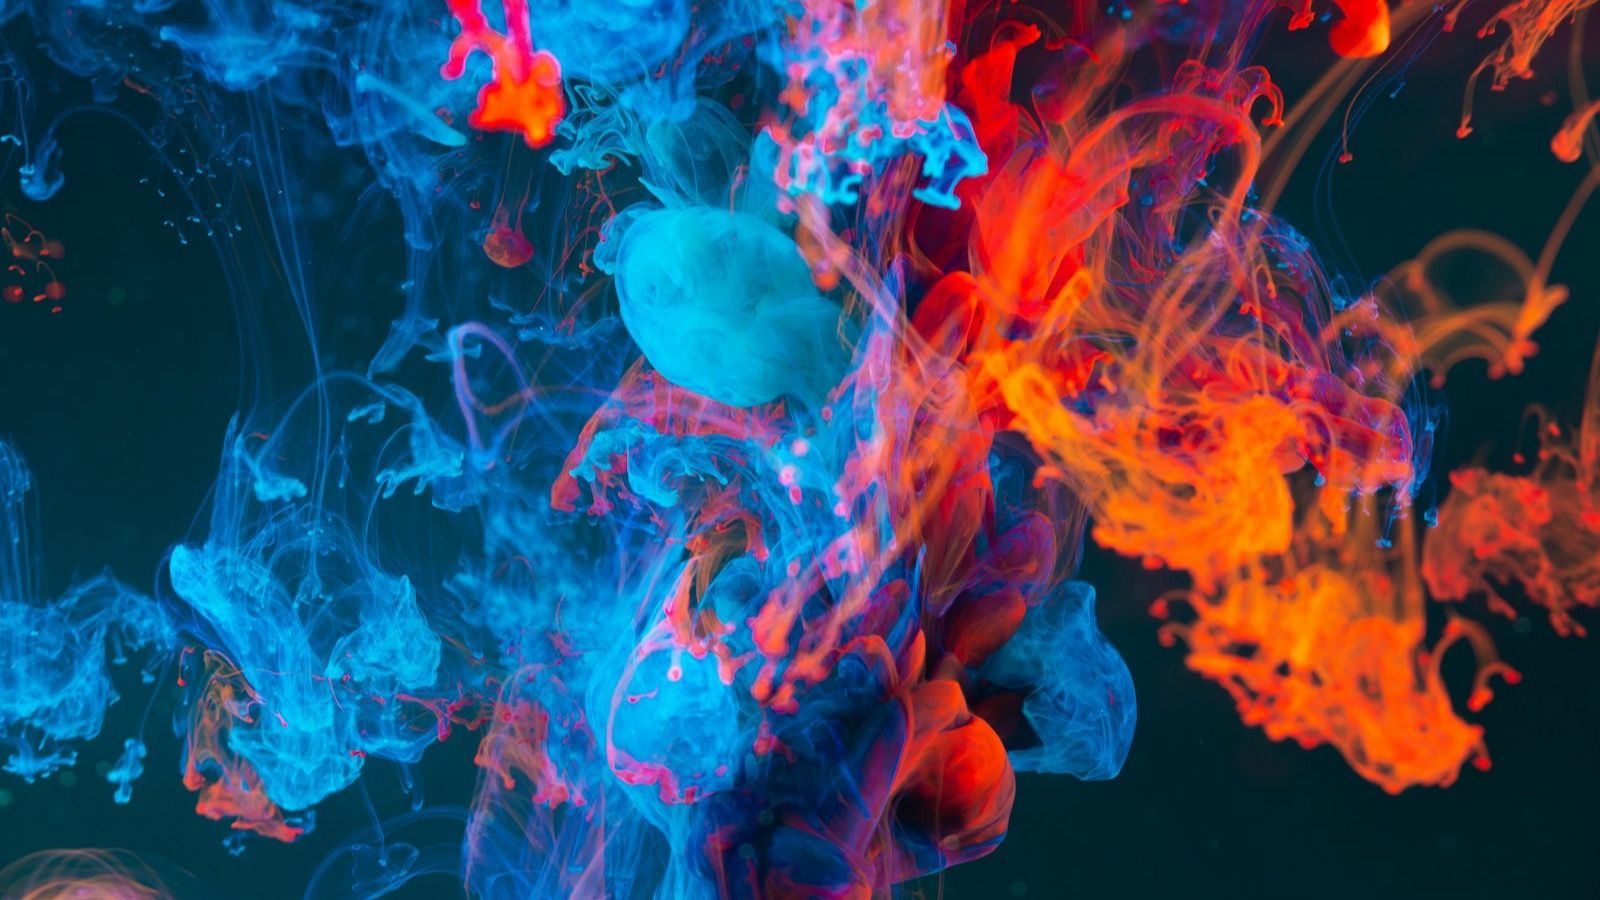
        <img src="https://cdn.sanity.io/images/2gpum2i6/production/26d92ccf0c19778f82340b0e65f536d2cacc8ff0-1600x900.jpg" alt="Start frame — blue and red ink" style={{ width: "100%", display: "block", borderRadius: "0.5rem" }} />

        <p style={{ textAlign: "center", marginTop: "0.4rem", opacity: 0.7 }}>Start frame</p>
      </div>

      <div>
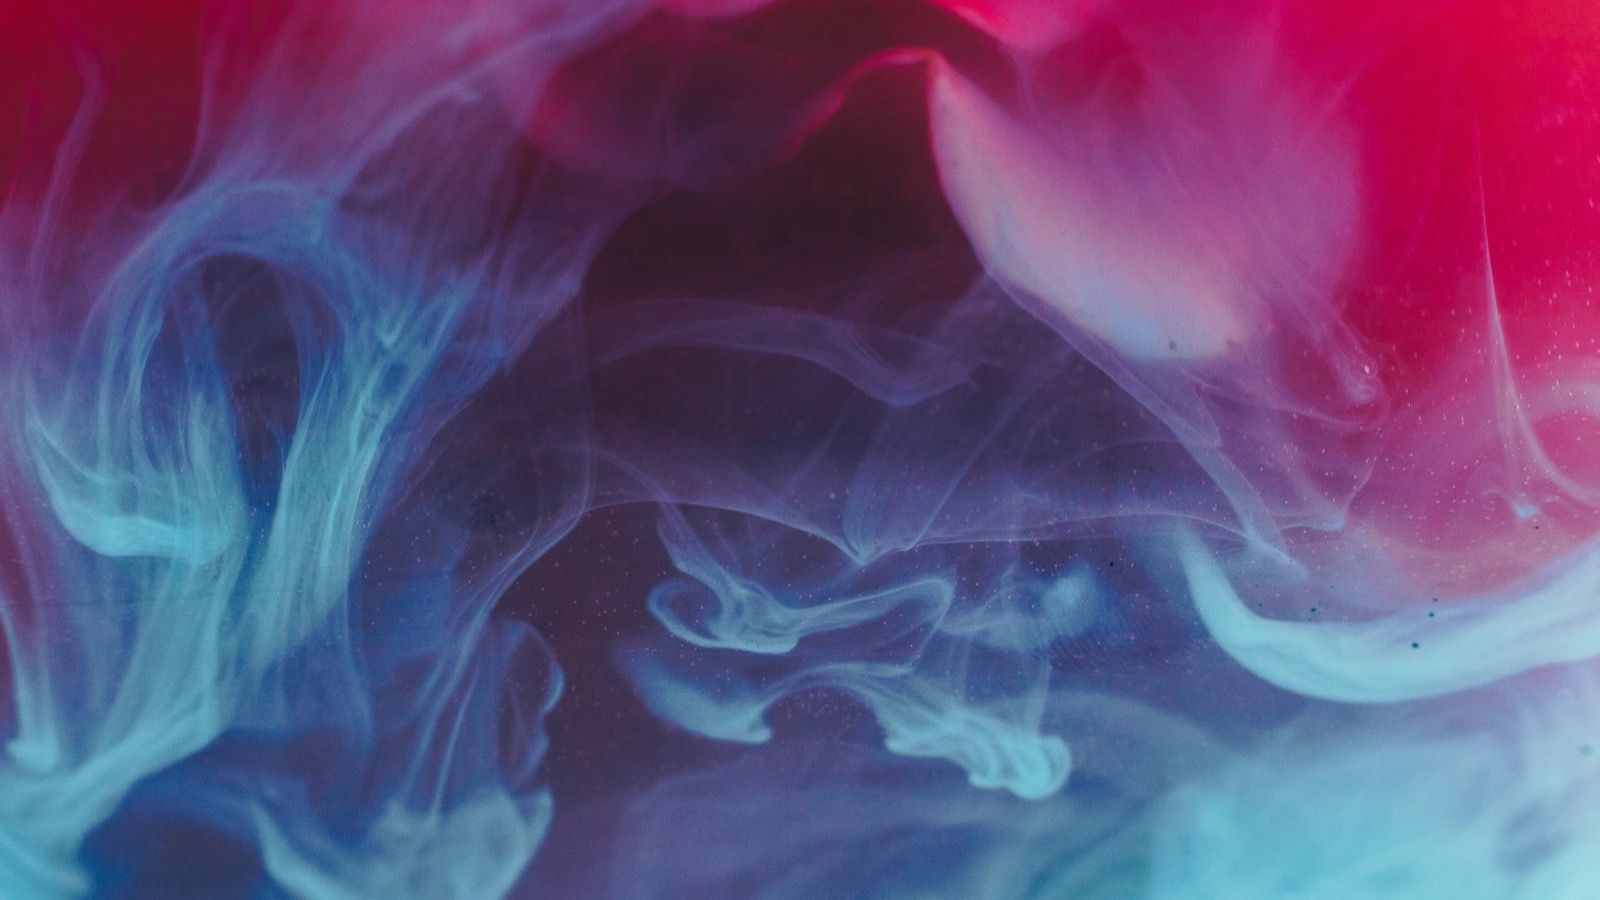
        <img src="https://cdn.sanity.io/images/2gpum2i6/production/a76df36c07e7c564649b16694e71c61b16200b26-1600x900.jpg" alt="End frame — magenta and violet ink" style={{ width: "100%", display: "block", borderRadius: "0.5rem" }} />

        <p style={{ textAlign: "center", marginTop: "0.4rem", opacity: 0.7 }}>End frame</p>
      </div>
    </Columns>

    <video autoPlay loop muted playsInline controls style={{ width: "100%", marginTop: "1rem", borderRadius: "0.5rem" }} src="https://cdn.sanity.io/files/2gpum2i6/production/df27a55dea8b3cc9a0a002edd683363b9fa98afc.mp4" />

    ```text wrap theme={null}
    Vivid clouds of colored ink billow and swirl through dark water: electric blue and crimson tendrils bloom, fold and diffuse, slowly transforming into deep magenta and violet plumes.
    ```
  </Tab>
</Tabs>

## Keyframes

Pass several stills as ordered waypoints and FLUX 3 interpolates a single continuous shot that moves through each one in turn. Where **Start + end frame** pins only the two ends, keyframes let you choreograph the moments in between — hit this pose, then this composition, then this one — while the model handles the motion connecting them.

Order matters: the frames are read as a timeline from first to last. Space them so each transition is achievable, and keep the look consistent across frames so the shot reads as one take rather than a series of cuts.

### Examples

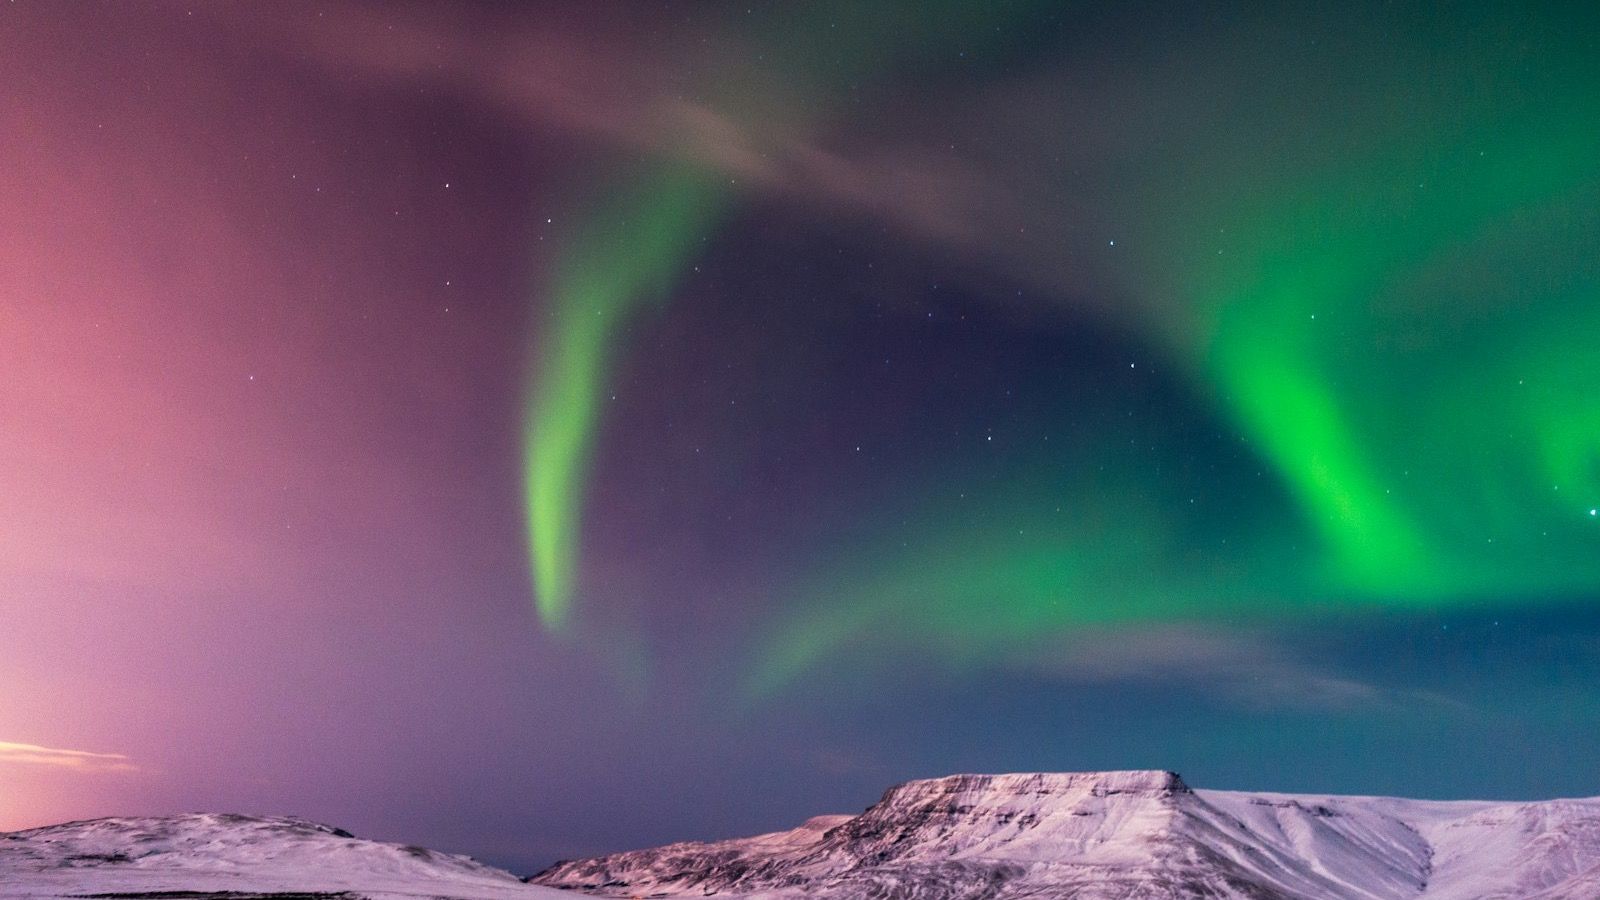
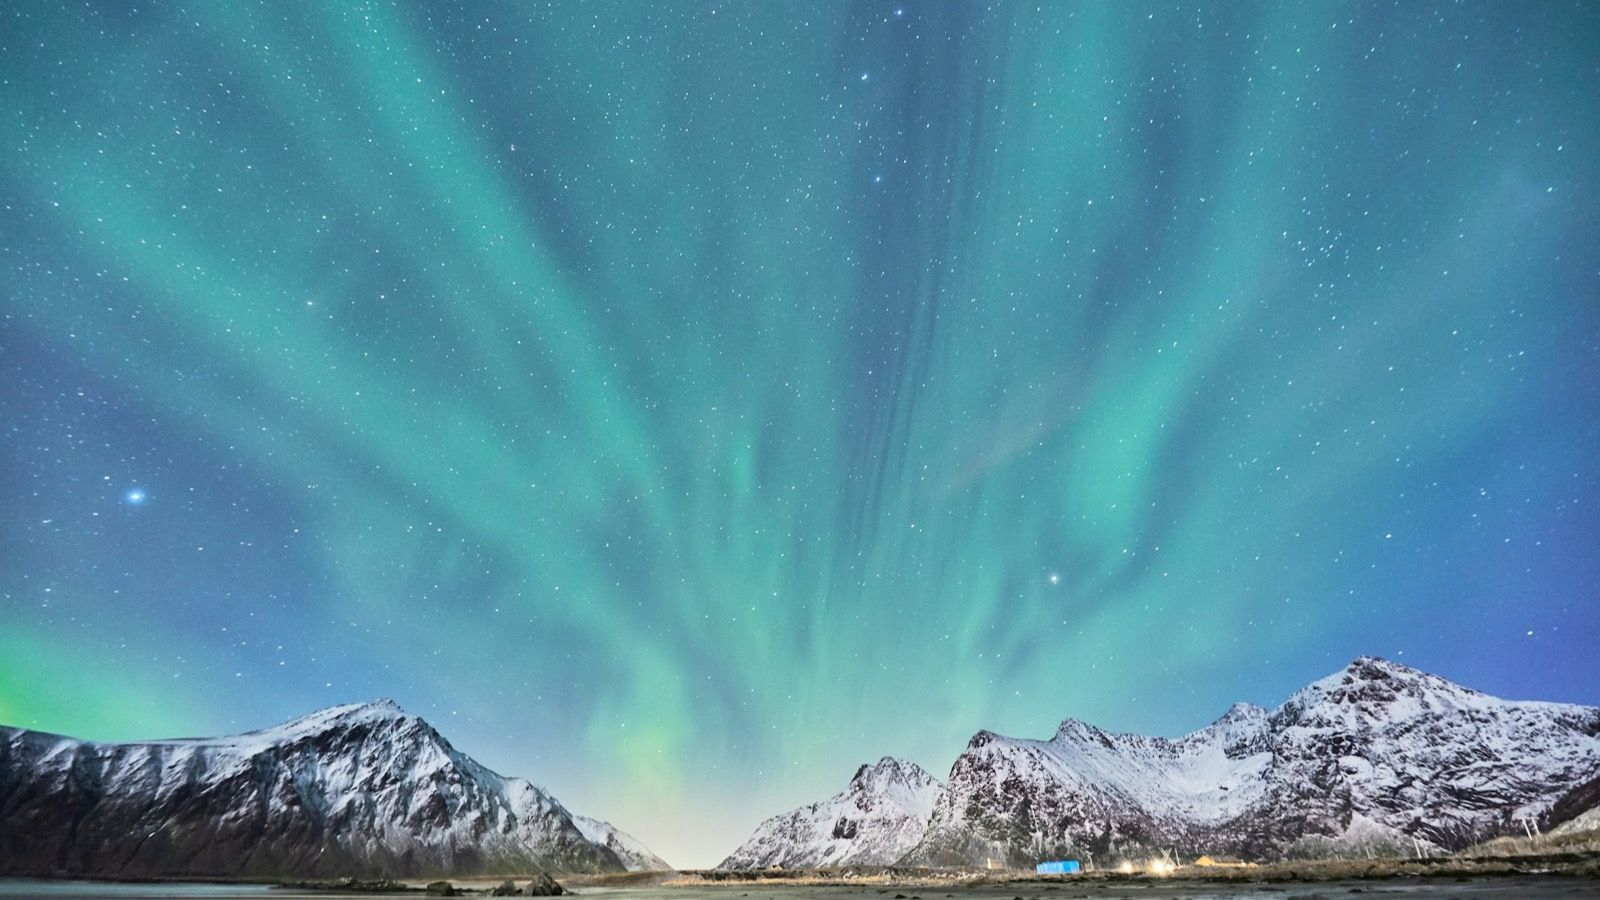
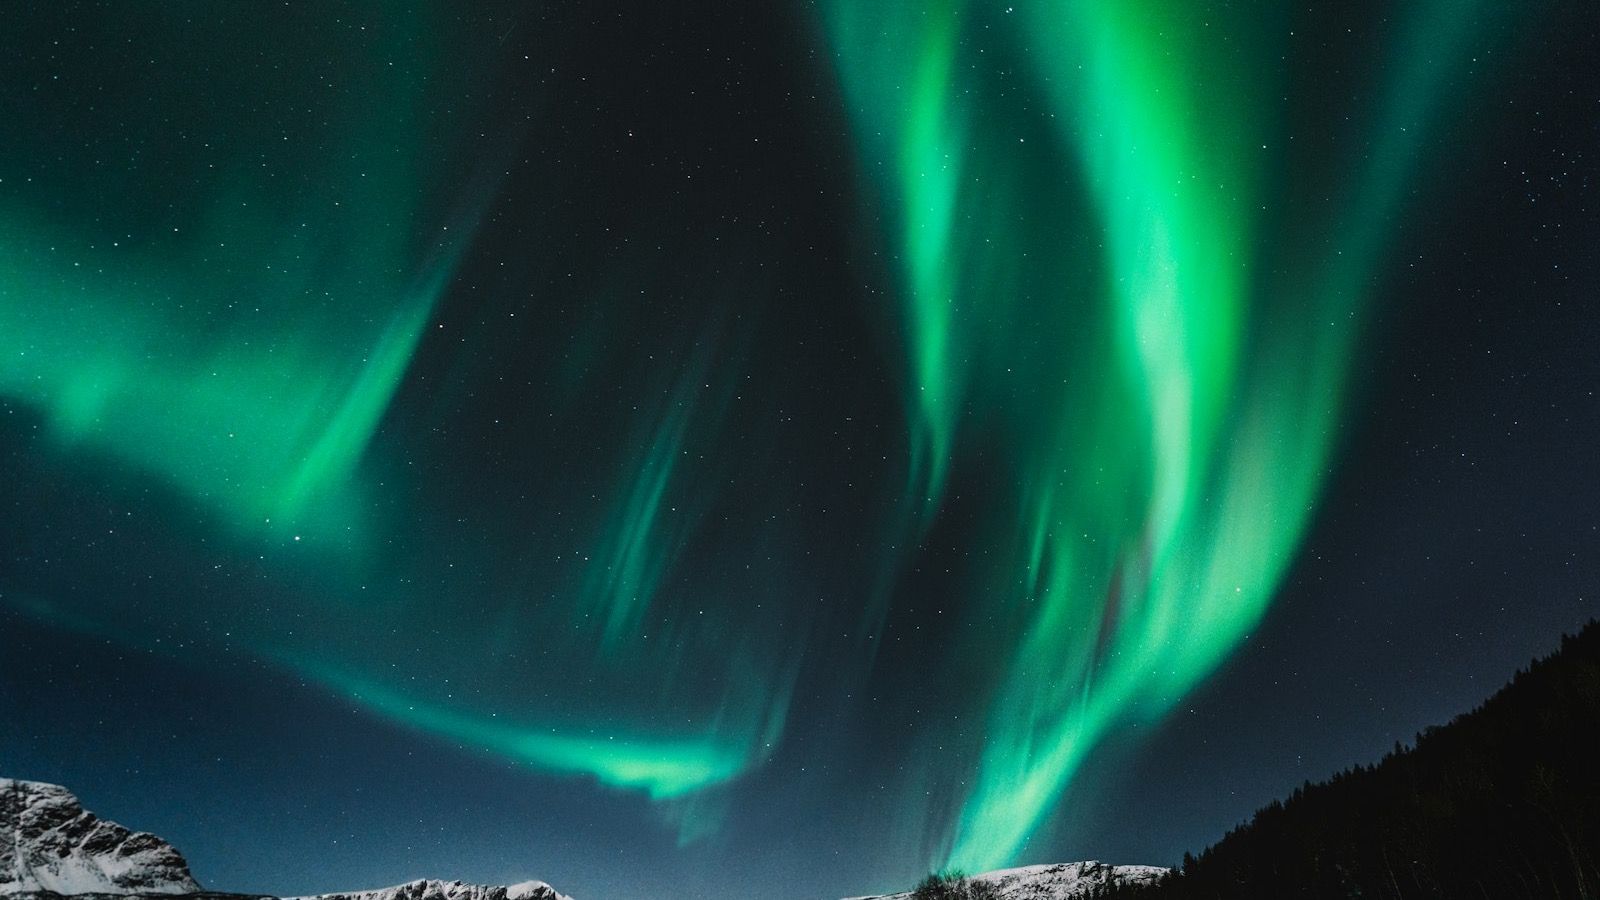
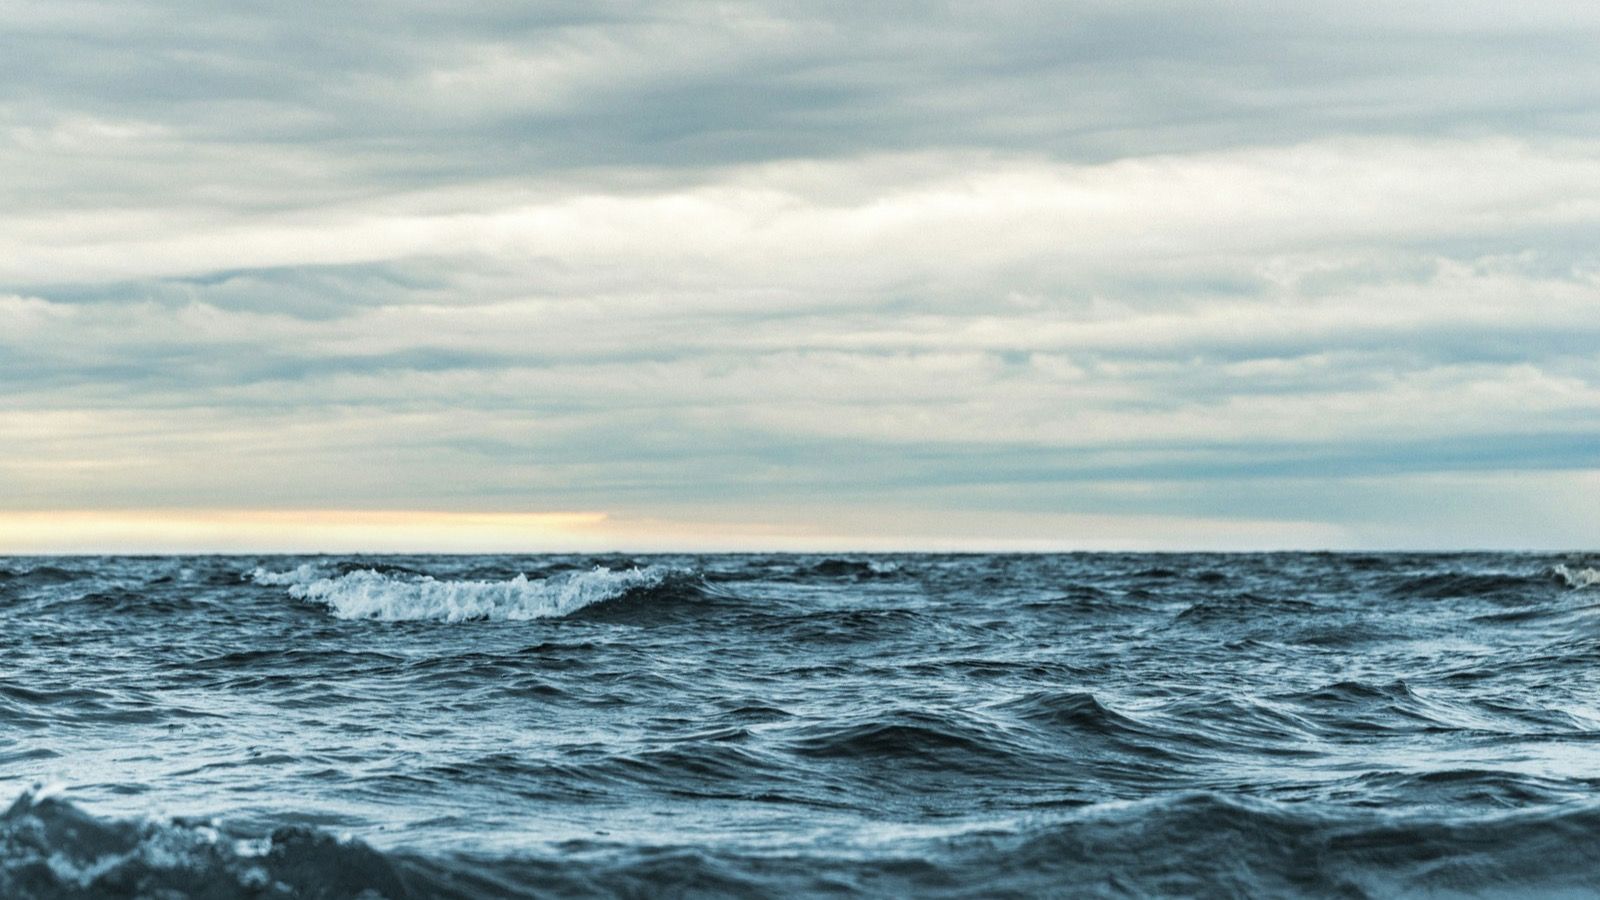
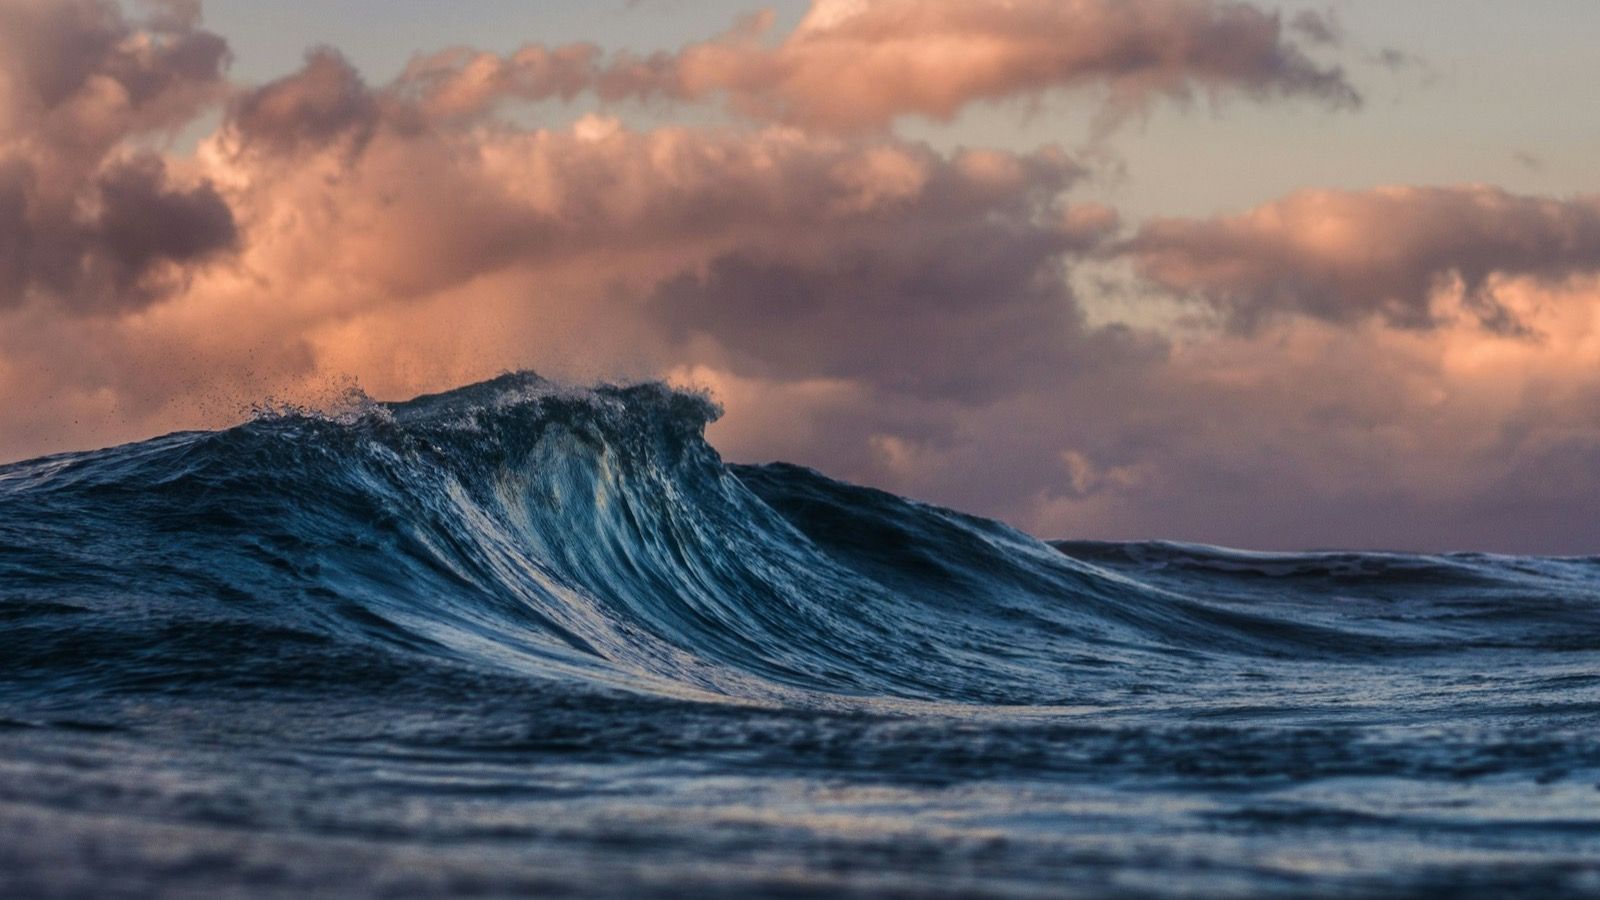
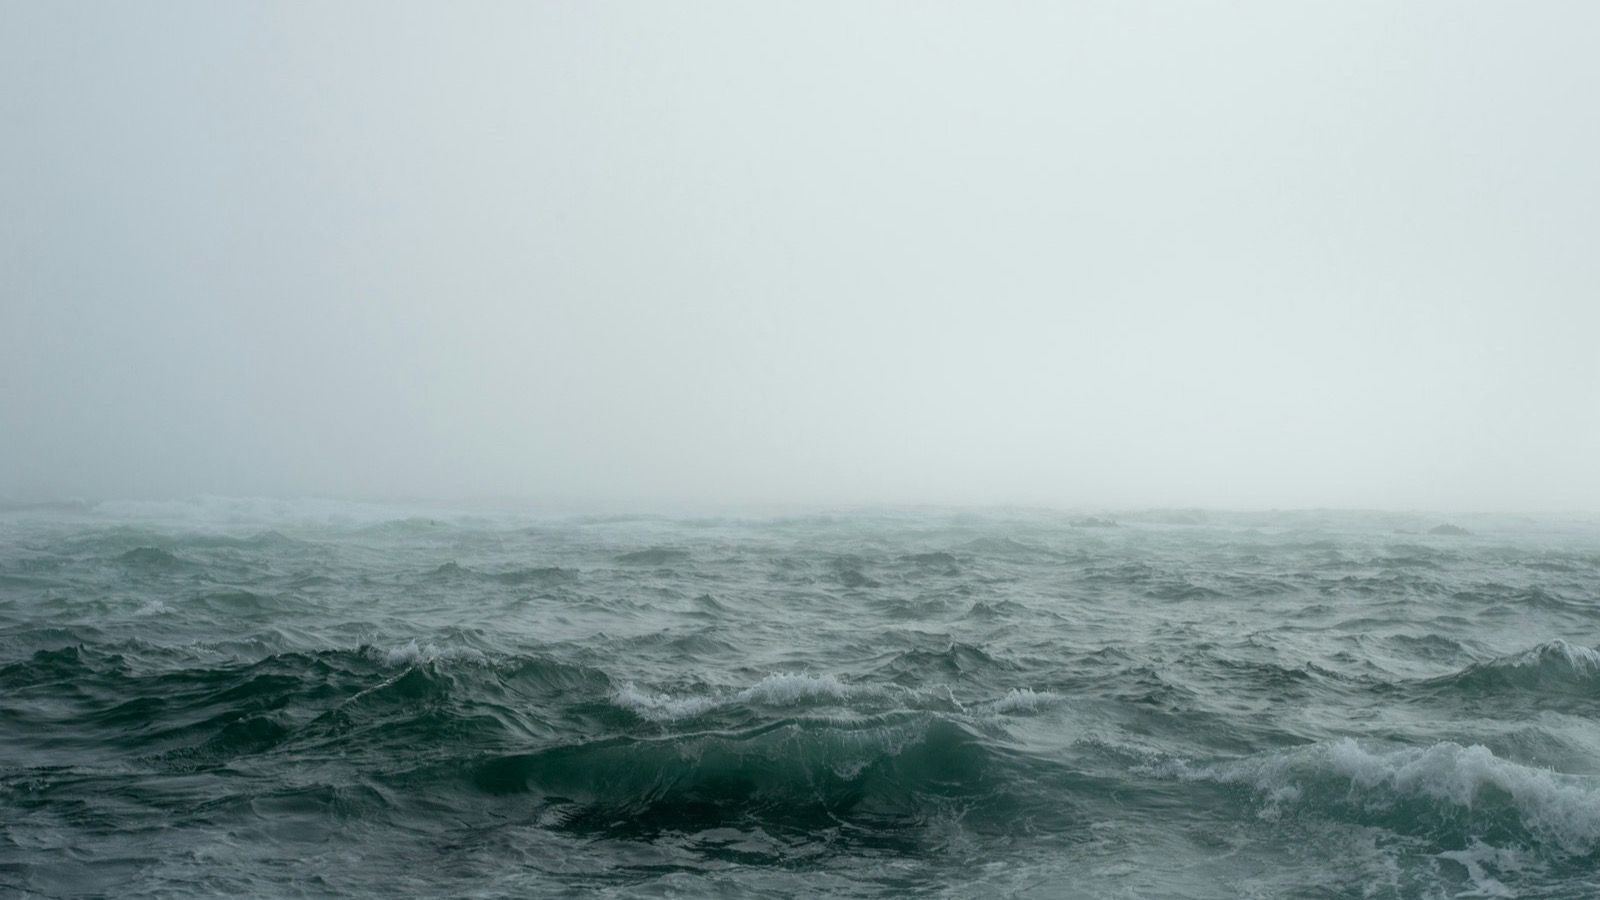
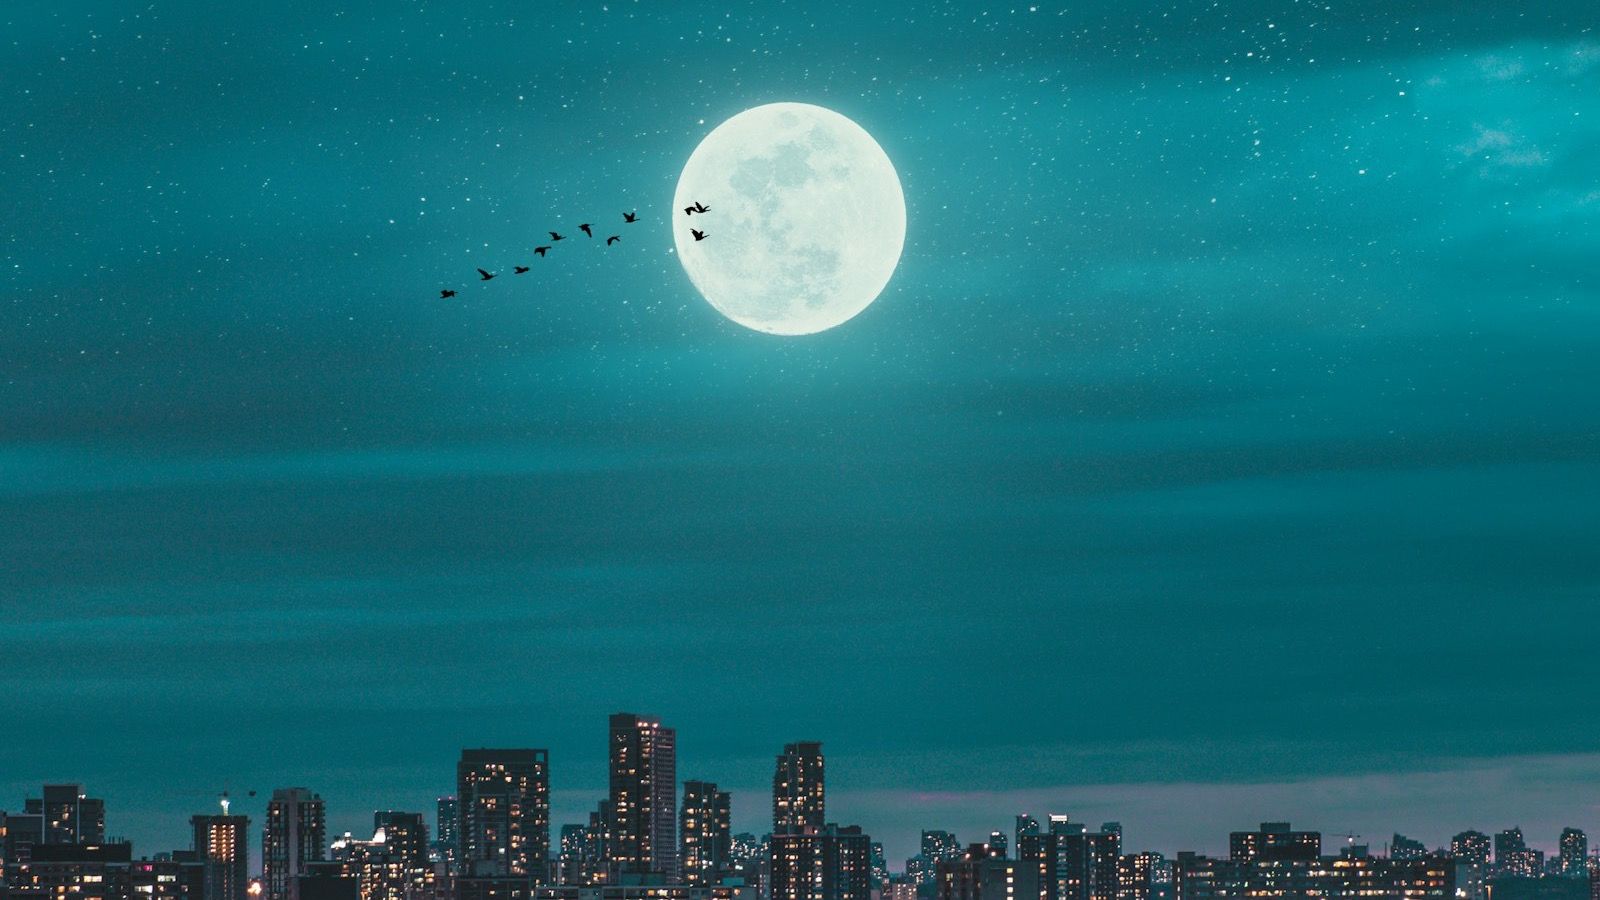
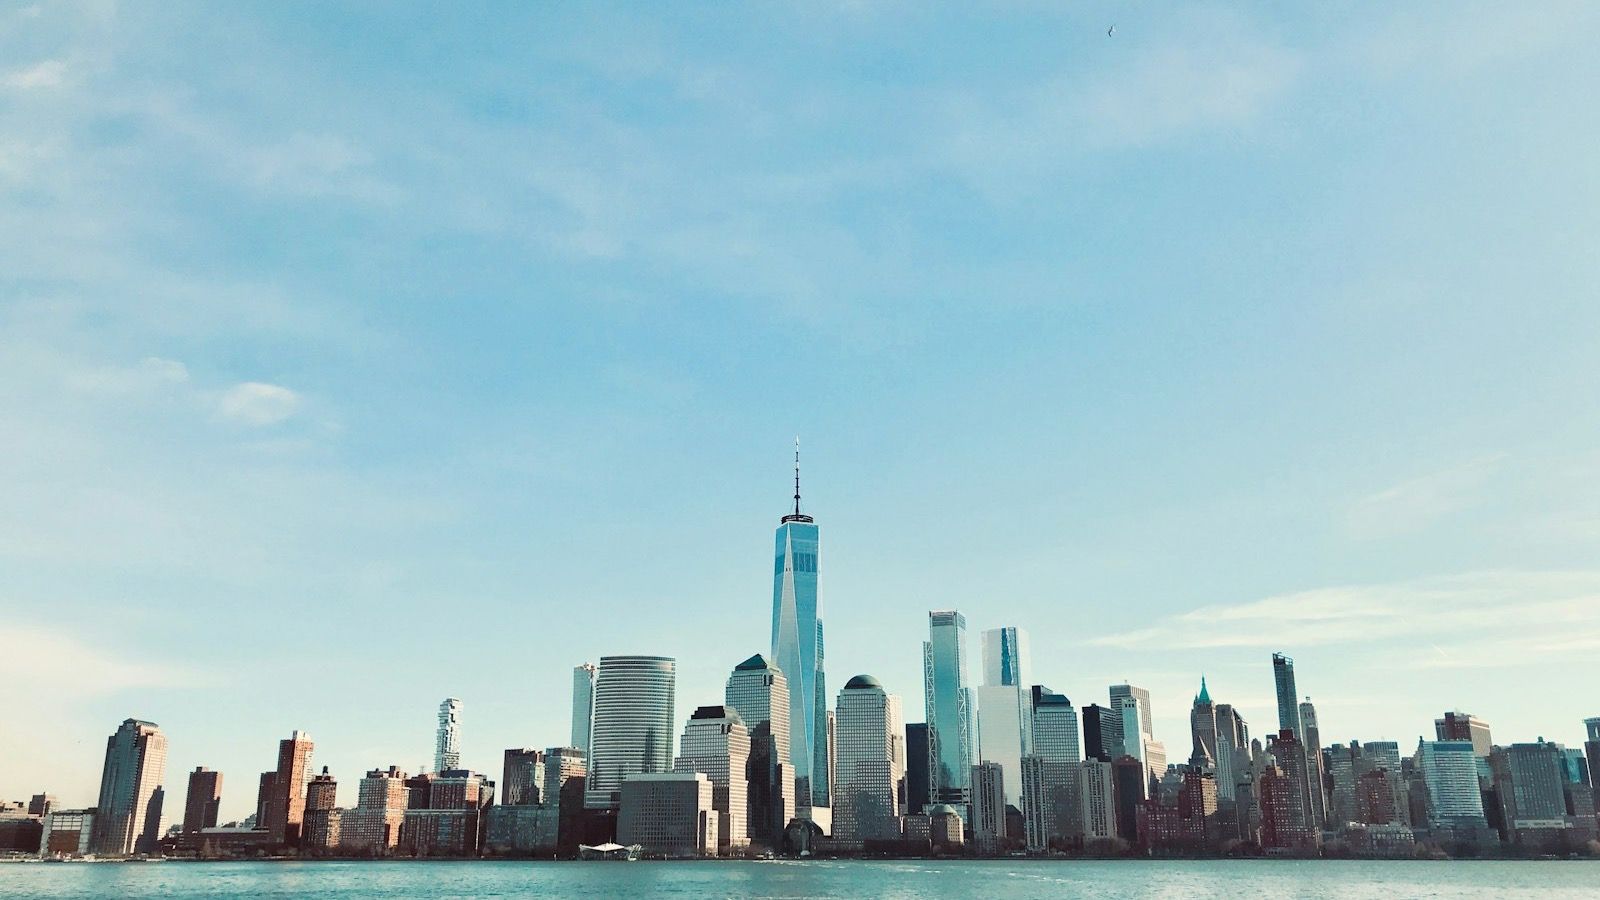
Each example shows the ordered keyframes pinned along a 5-second clip (`[[0, …], [2.5, …], [5, …]]`) followed by the shot FLUX 3 interpolated through them.

<Tabs>
  <Tab title="Aurora">
    <Columns cols={3}>
      <div>
        <img src="https://cdn.sanity.io/images/2gpum2i6/production/9b27f0264cdbfa7e61acb2c473bf4634ecfadb4c-1600x900.jpg" alt="Keyframe 1 — magenta aurora" style={{ width: "100%", display: "block", borderRadius: "0.5rem" }} />

        <p style={{ textAlign: "center", marginTop: "0.4rem", opacity: 0.7 }}>Keyframe 1 — 0s</p>
      </div>

      <div>
        <img src="https://cdn.sanity.io/images/2gpum2i6/production/58d17eb7a1c2576e6d22c14bda304fde3432030f-1600x900.jpg" alt="Keyframe 2 — teal aurora" style={{ width: "100%", display: "block", borderRadius: "0.5rem" }} />

        <p style={{ textAlign: "center", marginTop: "0.4rem", opacity: 0.7 }}>Keyframe 2 — 2.5s</p>
      </div>

      <div>
        <img src="https://cdn.sanity.io/images/2gpum2i6/production/4b04e735647d5b258383eb91189c7a6be680b239-1600x900.jpg" alt="Keyframe 3 — green aurora" style={{ width: "100%", display: "block", borderRadius: "0.5rem" }} />

        <p style={{ textAlign: "center", marginTop: "0.4rem", opacity: 0.7 }}>Keyframe 3 — 5s</p>
      </div>
    </Columns>

    <video autoPlay loop muted playsInline controls style={{ width: "100%", marginTop: "1rem", borderRadius: "0.5rem" }} src="https://cdn.sanity.io/files/2gpum2i6/production/bab0bb078916fc45c4433c1ff249557648300462.mp4" />

    ```text wrap theme={null}
    A wide long-exposure night sky over snowy northern mountains: the aurora borealis sweeps and ripples, shifting from soft magenta and violet into teal and finally vivid green above the frozen horizon.
    ```
  </Tab>

  <Tab title="Rising sea">
    <Columns cols={3}>
      <div>
        <img src="https://cdn.sanity.io/images/2gpum2i6/production/caf93a6d2a6465397b2a47a591a1273806bfcc68-1600x900.jpg" alt="Keyframe 1 — choppy sea" style={{ width: "100%", display: "block", borderRadius: "0.5rem" }} />

        <p style={{ textAlign: "center", marginTop: "0.4rem", opacity: 0.7 }}>Keyframe 1 — 0s</p>
      </div>

      <div>
        <img src="https://cdn.sanity.io/images/2gpum2i6/production/884ddfae43d025957cfc7f1aeb619fdeed952211-1600x900.jpg" alt="Keyframe 2 — cresting wave" style={{ width: "100%", display: "block", borderRadius: "0.5rem" }} />

        <p style={{ textAlign: "center", marginTop: "0.4rem", opacity: 0.7 }}>Keyframe 2 — 2.5s</p>
      </div>

      <div>
        <img src="https://cdn.sanity.io/images/2gpum2i6/production/56cf0cf34c44d7d9d78e733fdaae0bb5dee68e91-1600x900.jpg" alt="Keyframe 3 — stormy spray" style={{ width: "100%", display: "block", borderRadius: "0.5rem" }} />

        <p style={{ textAlign: "center", marginTop: "0.4rem", opacity: 0.7 }}>Keyframe 3 — 5s</p>
      </div>
    </Columns>

    <video autoPlay loop muted playsInline controls style={{ width: "100%", marginTop: "1rem", borderRadius: "0.5rem" }} src="https://cdn.sanity.io/files/2gpum2i6/production/6b5e23ce6d9b020b16dba972b41c58eb529437f0.mp4" />

    ```text wrap theme={null}
    The open sea builds through a rising storm: from grey choppy swells to a towering cresting wave under dramatic clouds and finally wild wind-whipped whitecaps and cold spray.
    ```
  </Tab>

  <Tab title="City day-cycle">
    <Columns cols={3}>
      <div>
        <img src="https://cdn.sanity.io/images/2gpum2i6/production/e8b48a2d1e00f608e73d671bebde7cf5c07f1431-1600x900.jpg" alt="Keyframe 1 — city by day" style={{ width: "100%", display: "block", borderRadius: "0.5rem" }} />

        <p style={{ textAlign: "center", marginTop: "0.4rem", opacity: 0.7 }}>Keyframe 1 — 0s</p>
      </div>

      <div>
        <img src="https://cdn.sanity.io/images/2gpum2i6/production/7f8a5bdf641a6320781f982e854090e6ce03f4d8-1600x900.jpg" alt="Keyframe 2 — moonrise over the city" style={{ width: "100%", display: "block", borderRadius: "0.5rem" }} />

        <p style={{ textAlign: "center", marginTop: "0.4rem", opacity: 0.7 }}>Keyframe 2 — 2.5s</p>
      </div>

      <div>
        <img src="https://cdn.sanity.io/images/2gpum2i6/production/06b3f43719637f45efc8bd62bf04080b3705ca00-1600x900.jpg" alt="Keyframe 3 — city at night" style={{ width: "100%", display: "block", borderRadius: "0.5rem" }} />

        <p style={{ textAlign: "center", marginTop: "0.4rem", opacity: 0.7 }}>Keyframe 3 — 5s</p>
      </div>
    </Columns>

    <video autoPlay loop muted playsInline controls style={{ width: "100%", marginTop: "1rem", borderRadius: "0.5rem" }} src="https://cdn.sanity.io/files/2gpum2i6/production/760ba618203fbf642563a5a0a6c9918c0f079413.mp4" />

    ```text wrap theme={null}
    A city skyline over water cycles through a full day: bright blue midday, then a golden-to-teal dusk with a rising moon, and finally a glittering night of city lights reflected on the water.
    ```
  </Tab>
</Tabs>

## Related pages

<CardGroup cols={2}>
  <Card title="Video Prompting Overview" icon="book-open-cover" href="/guides/prompting_video_overview">
    Workflow selection and the broader FLUX 3 video prompting framework.
  </Card>

  <Card title="Text-to-Video" icon="film" href="/guides/prompting_video_text_to_video">
    Generate a shot from a text prompt when you don't need a fixed first frame.
  </Card>

  <Card title="Camera Terms" icon="camera" href="/guides/prompting_video_camera_terms">
    Reusable framing, angle, movement, and focus phrasing for your prompts.
  </Card>

  <Card title="FLUX 3 Video" icon="film" href="/flux_3/flux3_video">
    Modes, examples, and workflow breakdowns for FLUX 3 video.
  </Card>
</CardGroup>